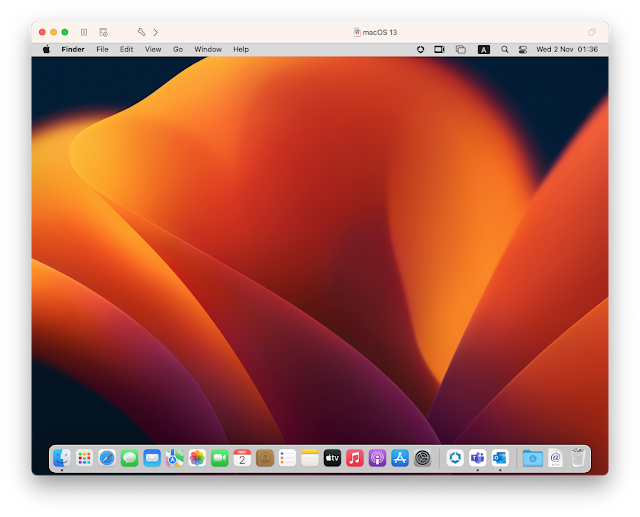
Use macOS Ventura with VMware Fusion
With macOS Ventura released, you would want use this in VMware Fusion to enroll and test it with Workspace ONE (or any other MDM) Check out my last blog on the latest features Workspace ONE delivers for macOS:
https://blog.simonelberts.nl/2022/10/managing-macos-with-workspace-one.html
Currently the version of VMware Fusion is 12.2.4 and macOS Ventura is not yet official supported, but that doesnt mean we can't use it:
In this article i will take you through the configuration steps.
Requirements
First of all this is an approach that used for Intel Macs only, Apple Silicon Macs currently are unable to run macOS in VMware Fusion.
Below is the list of hardware requirements to keep in mind, make sure you have the right level of hardware where you want to run your VM on:
The following Mac computers are supported by macOS Ventura:
- MacBook (2017 and newer)
- MacBook Air (2018 and newer)
- MacBook Pro (2017 and newer)
- Mac mini (2018 and newer)
- Mac Studio (2022)
- iMac (2017 and newer)
- iMac Pro (2017)
- Mac Pro (2019 and newer)
Download macOS Ventura
To start we need the installation of macOS Ventura. Most easiest way to download macOS Ventura is go to the Appstore and search for macOS Ventura:
Other option is to use Terminal and download the full installer with a command:
Both options will download the installer in /Applications in the following format:
/Applications/Install\ macOS\ Ventura.app/
You could drag and drop this in VMware Fusion, but probably the best approach is to convert it into an ISO file. This can be done by a couple of macOS integrated terminal tools. Follow the below steps 1 by one to get your Ventura.app converted:
hdiutil create -o /tmp/Ventura -size 15650m -volname Ventura -layout SPUD -fs HFS+J
hdiutil attach /tmp/Ventura.dmg -noverify -mountpoint /Volumes/Ventura
sudo /Applications/Install\ macOS\ Ventura.app/Contents/Resources/createinstallmedia --volume /Volumes/Ventura --nointeraction
sudo hdiutil detach /Volumes/Install\ macOS\ Ventura -force
hdiutil convert /tmp/Ventura.dmg -format UDTO -o ~/Downloads/Ventura.cdr
mv ~/Downloads/Ventura.cdr ~/Downloads/Ventura.iso
rm /tmp/Ventura.dmg
Create your Virtual Machine:
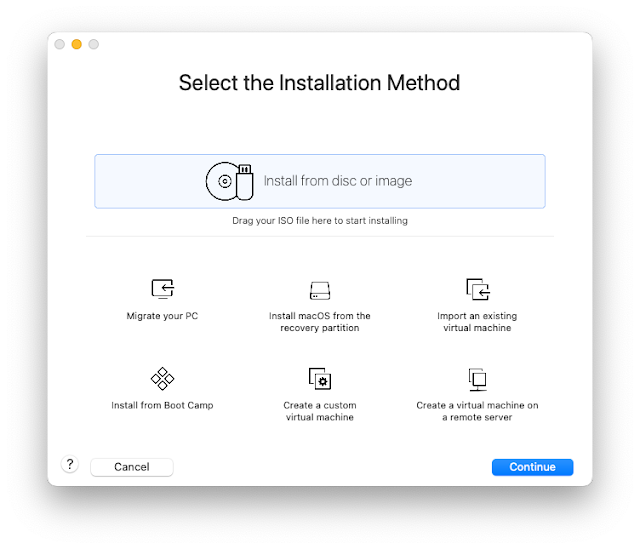
In Fusion go to File and then New to create a new VM:
Click continue on the next screen and make sure you pick the newest available Apple OS X version:
Save the file to a good location on your Mac and hit Save.
This will bring you to the settings page. A couple things to adjust before starting the VM:
- Adjust the Processors and Memory (Depending on your Mac i would suggest minimum of 4 cores and 8GB of memory)
- Make sure full resolution for Retina Display is turned off in the Display settings.
- In Network Adapter make sure Internet Sharing is enabled.
Last part is to add some lines in the VMX config file:
Right click on your created Virtual Machine and press and hold the 'option' key on your keyboard. This will change Show in Finder to Open Config in Editor:
Go to System Information of your Mac (to the top right, Apple and hit option) and grab you hw.model and serial number.
- hw.model = "MacBookPro16,1"
- serialNumber = "C0XXXXXXXX"
This will make sure the correct Hardware model will be enrolled in the MDM and not a iPhone or iPad for example.
Note: If you use a serialnumber and hw model from a device from Apple Business Manager, the Virtual Machine will be prompted for Automated Device Enrollment.
Find the below line:
ethernet0.virtualDev = "e1000e"
And change it to:
- ethernet0.virtualDev = "vmxnet3"
Save the File.
If everything works out well, an Apple logo will show and macOS will boot in the installation menu:
Follow the Setup instruction to finish up the installation.
After the installation has finished, go through the Setup Assistant:
If you have used a serialnumber registered Apple Business Manager, Remote management screen will prompt:


"First of all this is an approach that used for Intel Macs only, Apple Silicon Macs currently are able to run macOS in VMware Fusion."
ReplyDeleteDid you mean "UNable", with regards to Apple Silicon Macs running macOS in Fusion?
You are right, thanks for pointing it out!
DeleteNice write-up; thank you!
ReplyDelete